Hello everyone. I hope your holidays were safe and joyous!
Thank you all for visiting this page! I am honored and humbled by the number of views and comments this project has received.
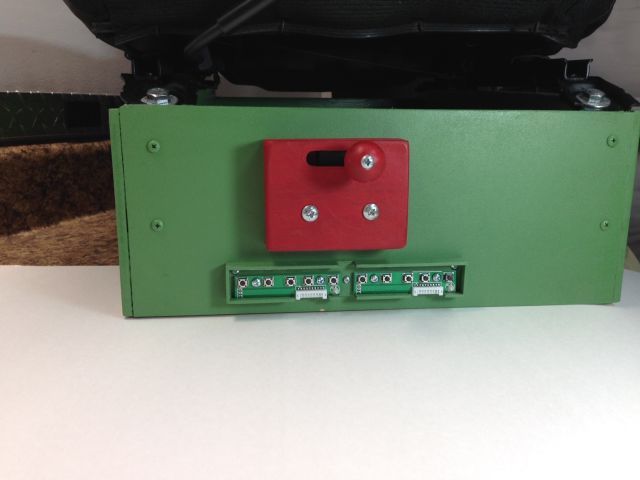
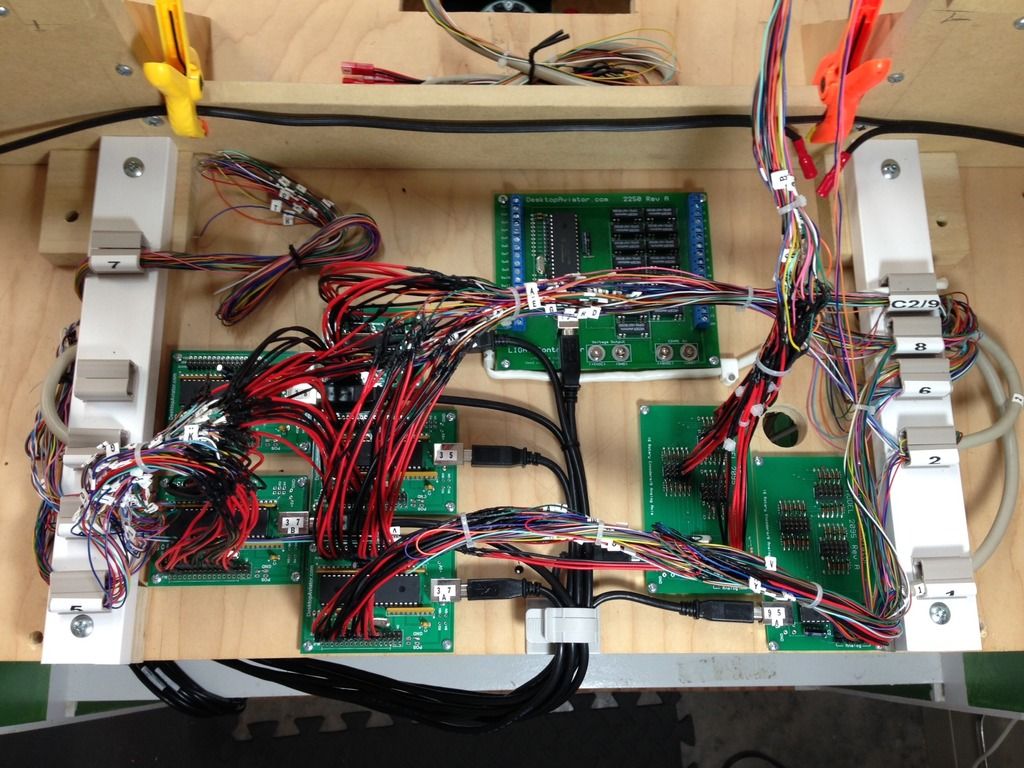
I got to spend a lot of time in the shop over the holidays but there is not a lot to show for the work. The wiring work was long and interesting. I wired and checked over 275 connections and it’s a good thing I did because I found some errors. One example, I had added 15 buttons to the Saitek panel and used one common ground for all buttons. This would have worked with the original board but I switched the buttons to a different USB board which needed a common ground for each PAIR of buttons. A little time redoing the buttons and they worked!
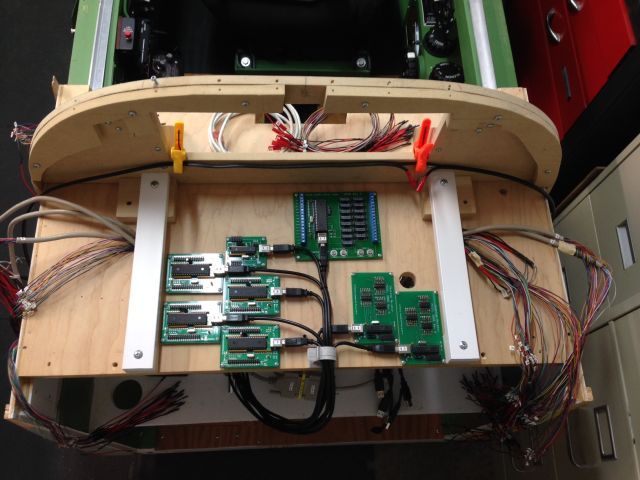
I have labeled each DB25 cable numerically and each of the 25 wires inside them A-Y so I could place the wires on the correct board and in the correct pairs. The side panels are removable so the pit can be moved into the house and reassembled. The DB25 cables will be connected and hidden behind a panel that covers the space between two ribs. You can just see one connection hanging behind the bomb salvo levers in image IMG_3364a. There are 4-5 cables on each side.
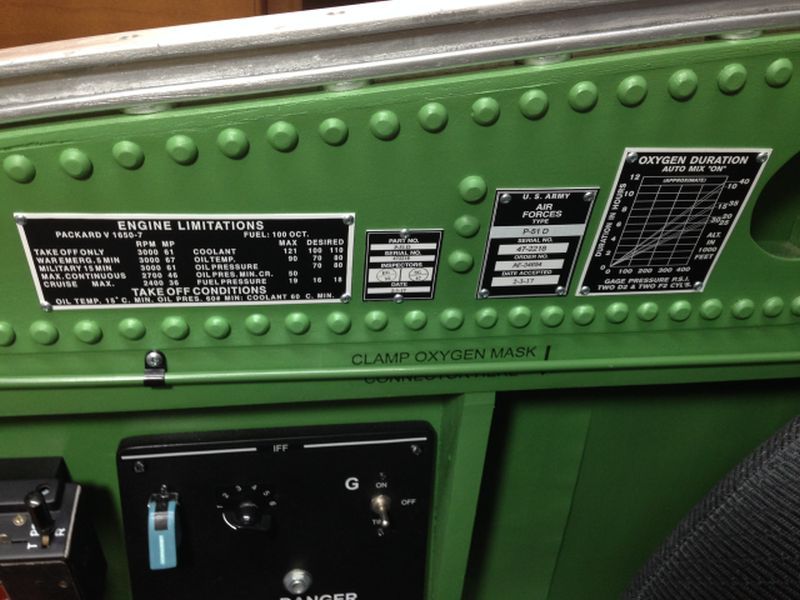
I also spent time researching the placards for the Mustang. This pit is NOT an exact match to any particular bird but a combination of what I liked. Three placards needed additional information so decals were made and placed as needed. Also some lettering was not in the placard kit I purchased so more decals were created. Yesterday and today I installed the placards.
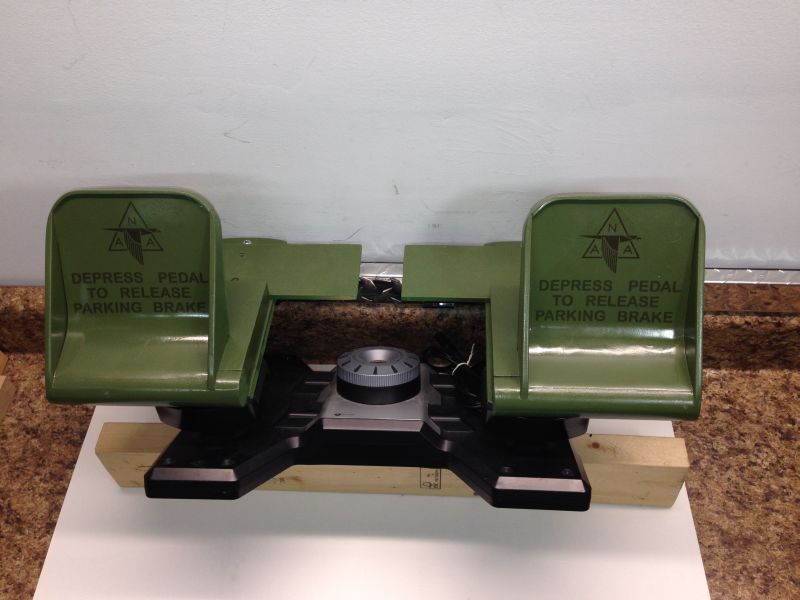
While making the decals I thought I would take a shot at adding detail to the rudder pedals. The real pedals have raised text that looks lighter than the pedal due to wear on the raised parts. I can’t print white so I chose a light gray. The photo is darker than the actual pedal but you get the idea.
Thank you again and take care
Ed
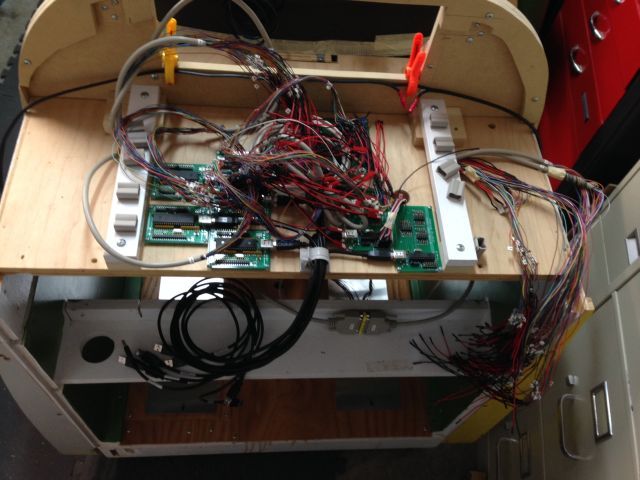
Wires connected. There is a bundle of wires in the upper left corner not connected at this time. These are reserved for the radio which I will start next.
MIP

Rudders
Left side
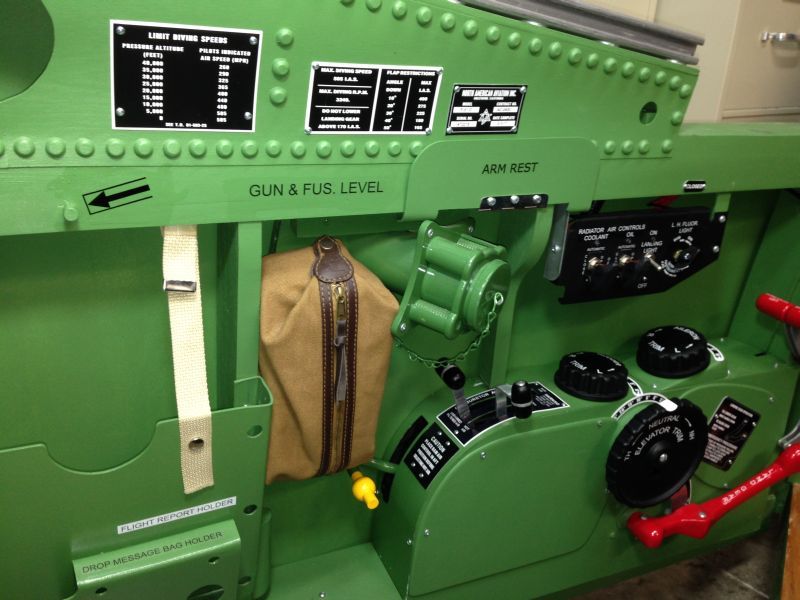
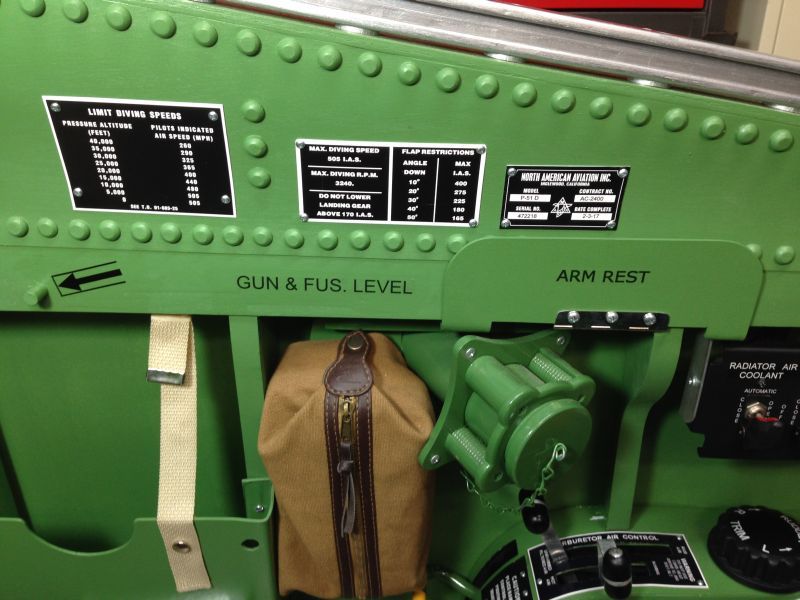
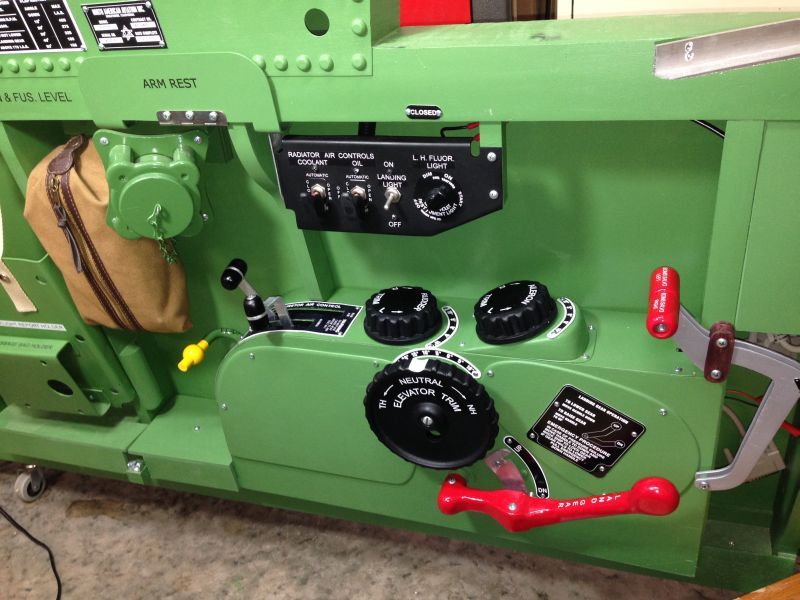
Right side

The inspectors’ initials and numbers in the circles are the initials of my wife and I and the numbers are our birth years. As you can see she is 5 years older than me but she does not look her age and I don’t act mine so we are a great match!